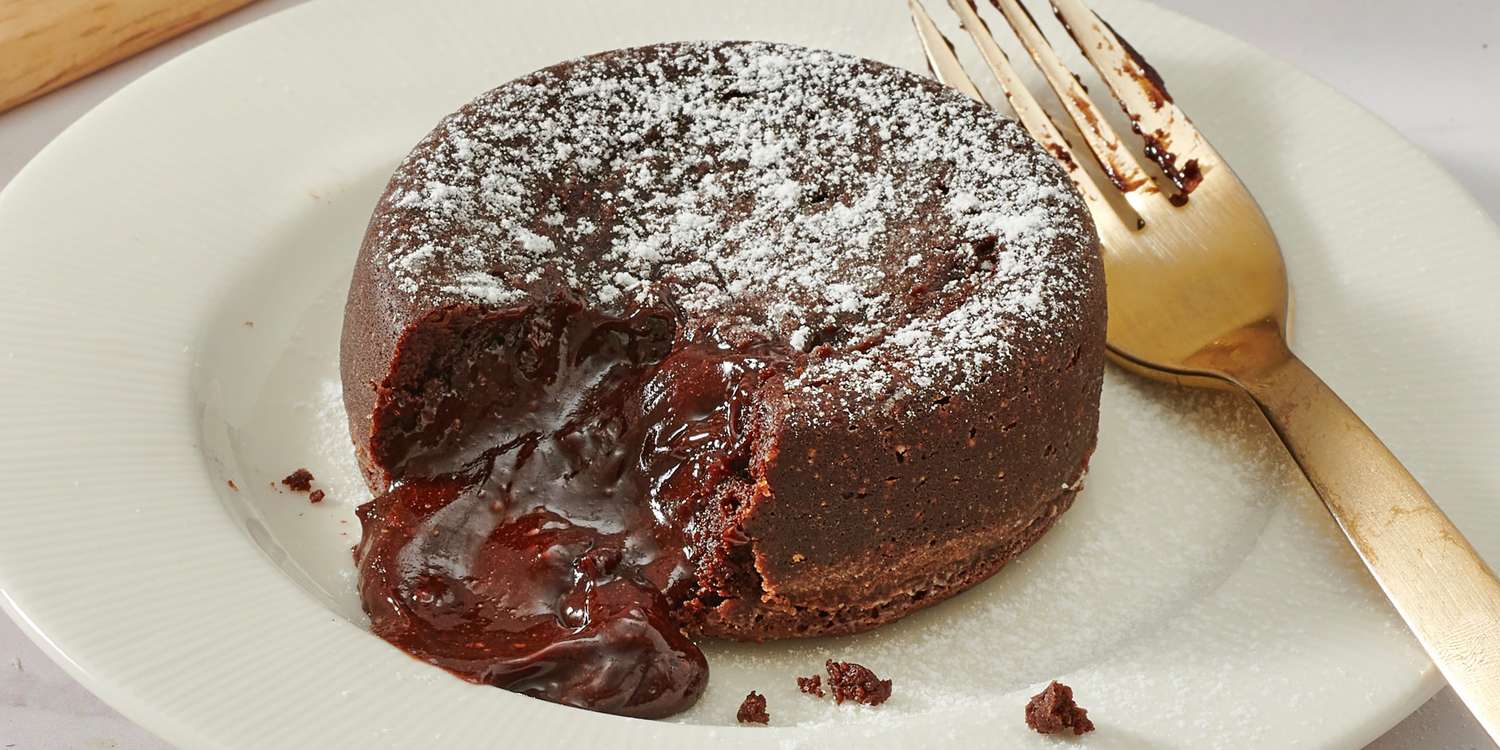
There are few dessert experiences as universally thrilling as breaking into a warm cake and watching a river of liquid chocolate cascade onto the plate. The chocolate lava cake is the quintessential restaurant-style indulgence, often perceived as a complex feat of pastry engineering reserved for professional chefs. In reality, this decadent treat is remarkably accessible, requiring only a handful of pantry staples and a very short window of time in the oven.
Mastering the lava cake is less about traditional baking skills and more about understanding the precise science of heat control. You are aiming for a cake that is fully set and structured on the exterior, while remaining raw and molten at its very heart. This guide explores the chemistry of the perfect molten center, the best ingredient combinations for maximum richness, and the fail-safe techniques to ensure your dessert impresses every time you serve it.
The Science of the Molten Center
The magic of a lava cake lies in its dual texture. You are essentially baking two desserts in one vessel. The outer ring is a classic flourless or low-flour sponge that provides the structural integrity needed to hold the shape, while the center remains a rich, thick ganache that has not yet reached the temperature required for the egg proteins to solidify.
Eggs are the primary drivers of this structural transformation. As the batter heats, the proteins in the egg whites and yolks begin to denature and bond, creating a solid network. By carefully monitoring the baking time, you stop the process just as the perimeter sets, leaving the center at a temperature where the chocolate and butter remain in a fluid, velvety state. This requires precision, as even one extra minute in the oven can turn a flowing lava center into a standard brownie.
Selecting Premium Ingredients for Depth of Flavor
Because a lava cake is primarily composed of chocolate, butter, and eggs, the quality of your ingredients is the deciding factor in the final flavor profile. Do not reach for standard baking chips, which contain stabilizers that prevent them from melting into a truly silky liquid.
Instead, invest in a high-quality dark chocolate bar with a cocoa content of at least sixty to seventy percent. The higher cocoa butter content in premium bars ensures a smoother melt and a deeper, more sophisticated flavor that cuts through the natural sweetness of the sugar.
Unsalted butter is essential for controlling the salt balance, allowing you to add a precise pinch of sea salt yourself. Sea salt acts as a flavor enhancer, intensifying the earthy notes of the cocoa and preventing the dessert from becoming cloying. Fresh, large eggs are also non-negotiable, as they provide the necessary emulsification to bind the fats and sugars into a glossy, uniform batter.
Mastering the Batter Preparation
To achieve the best results, you must handle your ingredients with care to avoid incorporating excess air. Unlike a standard sponge cake, you do not want a light, airy structure. You want a dense, fudgy, and intensely rich base.
Begin by melting your chopped chocolate and butter together. The safest method is using a double boiler or short, ten-second intervals in the microwave, stirring frequently. This gentle heat prevents the cocoa solids from seizing or burning, which would result in a grainy texture.
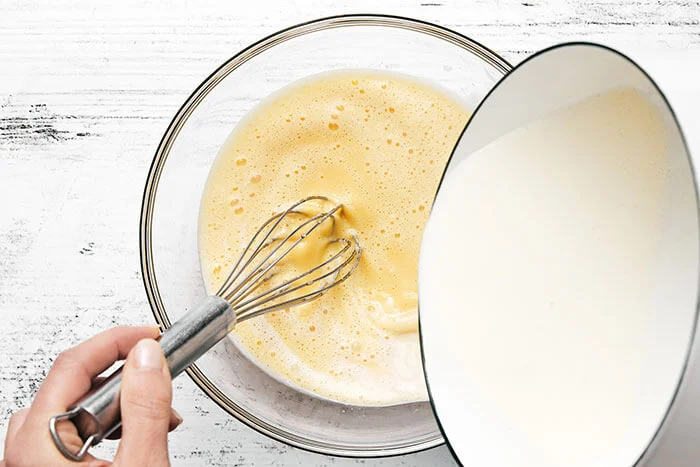
In a separate bowl, whisk your eggs and sugar until they are just combined. You are not trying to create a meringue, so avoid over-beating. Stream the slightly cooled chocolate mixture into the eggs, whisking constantly to create a smooth, homogenous emulsion. Finally, fold in a very small amount of all-purpose flour. This minimal addition of starch provides just enough structure to keep the cake from collapsing entirely when unmolded.
The Importance of Proper Mold Preparation
Nothing is more frustrating than a perfectly baked lava cake that tears apart when you try to remove it from the ramekin. Proper mold preparation is the insurance policy for your presentation.
Generously brush the interior of your ramekins with softened butter, ensuring you reach every crevice and corner. Dust the buttered surface with a light coating of cocoa powder, tapping out any excess. The cocoa powder acts as a non-stick barrier and ensures that the exterior of your cake remains a dark, uniform chocolate color rather than having white streaks of flour.
For additional security, place a small circle of parchment paper at the base of each ramekin. This simple step guarantees that the cake will release cleanly onto your serving plate, maintaining its elegant shape every single time.
Managing Oven Dynamics for the Perfect Flow
The baking window for a lava cake is extremely narrow, typically ranging between ten and twelve minutes,s depending on your oven’s accuracy. Preheat your oven to a high temperature, ideally 425°F. This intense blast of heat is necessary to cook the edges quickly while leaving the center cool enough to stay liquid.
Arrange your prepared ramekins on a sturdy baking sheet to make moving them in and out of the oven safer. Watch for the visual cues of doneness. The sides of the cakes should look firm, set, and slightly puffed, while the center should remain soft and have a slight jiggle when you gently shake the tray.
If the center looks completely matte and dry, you have overbaked it. If the entire top looks wet and raw, it needs another minute. Start checking at the ten-minute mark to calibrate your specific oven’s behavior.
Resting and the Art of Unmolding
Once you pull the cakes from the oven, resist the immediate urge to plate them. The residual heat trapped inside the ramekin continues to cook the center for about sixty seconds.
Let the cakes sit undisturbed for exactly one minute. This brief pause allows the edges to pull away slightly from the sides of the dish, making the unmolding process much smoother.
Run a small, thin knife around the inner edge of the ramekin to ensure there is no sticking. Place your serving plate upside down over the ramekin, then carefully invert them together using an oven mitt. Hold for a few seconds to let gravity do the work, then slowly lift the ramekin away. If you have prepared the dish correctly, the cake will slide out effortlessly, revealing a pristine, dark, and glistening surface.
Elegant Serving Suggestions and Pairings
A lava cake is intense, so it benefits from accompaniments that provide contrast in both temperature and flavor profile. A classic scoop of high-quality vanilla bean ice cream is the gold standard, as the cold creaminess melts into the warm chocolate sauce, creating a perfect balance in every bite.
For a touch of brightness, garnish the plate with fresh raspberries or a dollop of lightly sweetened whipped cream. The acidity of the fruit cuts through the richness of the dark chocolate, cleansing the palate between bites.
You can also dust the top of the cake with a fine layer of powdered sugar or a hint of espresso powder to highlight the complexity of the cocoa. Serve these immediately while they are still warm, as the true joy of the lava cake is the contrast between the hot, flowing center and the chilled accompaniments on the side.